Let’s be honest – we’ve all been there. You find this amazing music video on YouTube, or maybe you recorded a lecture that you want to listen to during your commute, but all you really need is the audio. Who wants to drain their phone battery watching a black screen just to hear the sound? That’s where converting video to audio comes in handy, and trust me, there’s a right way and a wrong way to do it. Whether you use a simple MP4 to MP3 converter or more advanced software, the key is understanding what works best for your needs.
I’ve been converting video files for years, and I’ve seen people make some pretty terrible mistakes along the way. Some folks end up with audio that sounds like it was recorded underwater, while others wait forever for conversions that should take minutes. Today, I’m going to share everything I’ve learned about extracting audio from video files like a true professional.
Understanding the Basics: What You’re Actually Doing
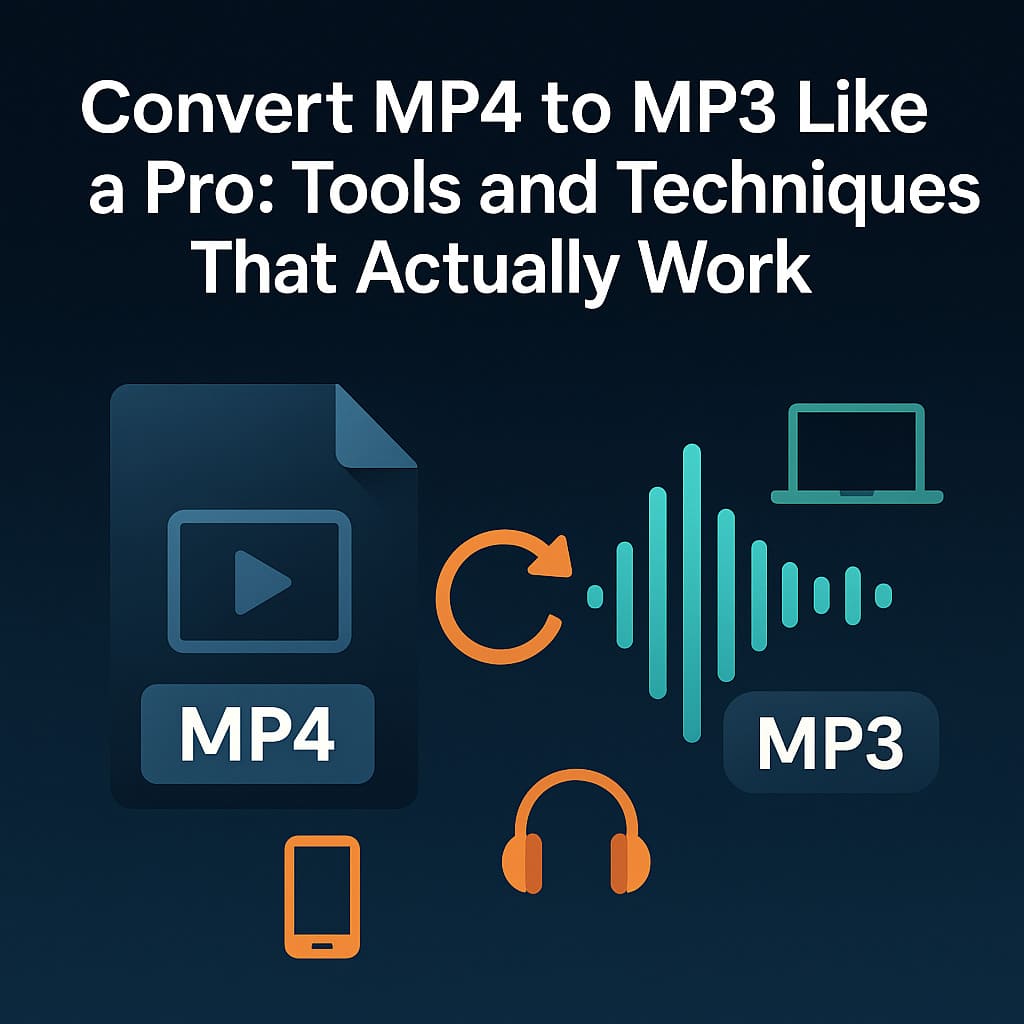
Before we dive into the nitty-gritty, let’s clear up some confusion. MP4 and MP3 aren’t the same thing at all. Think of MP4 as a suitcase that can carry both video and audio, while MP3 is like a dedicated music player that only handles sound. When you convert MP4 to MP3, you’re basically unpacking that suitcase and pulling out just the audio track.
Here’s something that might surprise you: a typical 5-minute music video in MP4 format takes up about 50-100MB of space, but the same song as an MP3 file usually weighs in at just 5-12MB. That’s roughly 85-90% less storage space! For someone like me who used to hoard music videos, this was a game-changer.
The technical stuff isn’t too complicated either. MP4 files use various video codecs (like H.264) combined with audio codecs (often AAC), while MP3 uses a specific audio compression algorithm that’s been around since the ’90s. The beauty of MP3 is that it’s compatible with pretty much every device ever made – from your grandmother’s old radio to the latest smartphone.
When You Actually Need This Conversion
I’ve found there are really four main reasons people convert MP4 to MP3, and they’re all pretty practical:
Music collection building is probably the most common one. According to recent surveys, about 73% of people who convert video files do it to extract music. I used to download music videos because the audio quality was often better than what streaming services offered at the time. Converting them to MP3 meant I could listen anywhere without eating up my data plan.
Educational content is another big one. Online courses, webinars, and lectures often come as video files, but let’s face it – most of the time you don’t need to see the presenter clicking through slides. I’ve converted dozens of programming tutorials and business seminars into audio files that I can listen to while walking or doing chores.
Podcast extraction happens more than you’d think. Sometimes podcasters upload video versions to YouTube or other platforms, but you just want the audio for your regular podcast app. I’ve done this countless times when my favorite shows weren’t available on my preferred platform.
Storage optimization is huge if you’re dealing with limited space. Mobile devices, older computers, or basic tablets can really benefit from having audio-only versions of content. I once helped a friend free up 15GB of space on her phone just by converting her workout videos to audio format.
Professional Methods That Actually Work
Online Converters: Your Best Friend for Quick Jobs
For most people, online converters are the way to go. They’re simple, fast, and you don’t need to install anything. I’ve tested dozens of these tools over the years, and the best ones share a few key characteristics: they’re fast, they maintain good audio quality, and they don’t plaster watermarks all over your files.
The process is usually straightforward – drag and drop your file, wait a few minutes, and download your MP3. What I love about modern online converters is that they handle the technical stuff automatically. You don’t need to worry about bitrates, sample rates, or codec compatibility.
Most online tools can handle files up to 1GB for free users, which covers probably 99% of what regular people need. If you’re dealing with longer videos or higher quality files, some services offer premium tiers that can process much larger files – sometimes up to 100GB.
Desktop Software: When You Need More Control
Sometimes you need more than what online tools offer. Maybe you’re batch-converting dozens of files, or you need specific quality settings for professional work. That’s when desktop software shines.
I’ve used programs like Audacity (free), Format Factory (free), and some paid options like Adobe Media Encoder. The learning curve is steeper, but the control you get is incredible. You can adjust bitrates, choose specific audio channels, trim sections, and even enhance audio quality during conversion.
The downside? These programs take up space on your computer, and some of them have interfaces that look like they were designed in 2005. But if you’re doing regular conversions or working with professional content, the investment in learning one good desktop tool pays off quickly.
Command Line Tools: For the Tech-Savvy
If you’re comfortable with terminal commands, FFmpeg is basically the Swiss Army knife of media conversion. It’s what most online converters use behind the scenes anyway. I won’t lie – there’s a learning curve here, but once you get it, you can do things that would be impossible with simple online tools.
With FFmpeg, you can convert files, extract specific time ranges, adjust audio levels, and even process hundreds of files with a single script. I’ve used it to convert entire seasons of podcasts from video format to audio in one go.
Getting the Quality Right
Here’s where a lot of people mess up. They either go overboard with quality settings (creating unnecessarily large files) or they go too low (ending up with audio that sounds terrible).
For most purposes, 128kbps MP3 is perfectly fine. It’s what most streaming services use for standard quality, and honestly, most people can’t tell the difference between 128kbps and higher bitrates on typical speakers or headphones. If you’re an audiophile or working with music professionally, 320kbps is the way to go, but expect files that are about 2.5 times larger.
Sample rate is another thing people worry about unnecessarily. The standard 44.1kHz works for virtually everything. Going higher doesn’t really improve quality for speech or most music, it just makes files bigger.
One tip I learned the hard way: if your original MP4 file has poor audio quality, converting it to MP3 won’t magically make it better. Garbage in, garbage out, as they say in the tech world.
Common Mistakes I’ve Seen (And Made)
Choosing the wrong format for the job. MP3 isn’t always the best choice. If you’re keeping files on your computer and size isn’t an issue, formats like FLAC or WAV preserve more quality. But if you want compatibility and reasonable file sizes, MP3 is still king.
Not checking the source quality first. I once spent an hour converting a bunch of videos only to discover they were recorded with a terrible microphone. Always listen to a sample of the original before batch-converting multiple files.
Ignoring file organization. When you’re converting lots of files, name them properly and organize them into folders. Trust me on this one – “converted_file_001.mp3” tells you nothing six months later.
Using sketchy websites. Some conversion sites are loaded with ads, malware, or they add watermarks to your files. Stick with reputable services that have been around for a while and have good user reviews.
Speed and Efficiency Tips
Conversion speed depends on several factors: your internet connection (for online tools), the size of your original file, and the complexity of the conversion. In my experience, a 100MB MP4 file typically converts to MP3 in about 2-5 minutes using a decent online converter.
If you’re doing lots of conversions, batch processing is your friend. Many tools let you queue up multiple files, so you can start the process and walk away. I usually set up batch conversions before lunch or at the end of the workday.
For really large files or slow internet connections, consider using desktop software or splitting large files into smaller chunks before converting.
Looking Ahead
The world of media conversion keeps evolving. We’re seeing AI-powered tools that can enhance audio quality during conversion, cloud-based services that can handle massive files in seconds, and better compression algorithms that maintain quality while reducing file sizes even further.
Streaming services are also changing how we think about file ownership and conversion. But as long as people want to own their media, create custom playlists, or work in environments with limited internet access, MP4 to MP3 conversion will remain relevant.
Wrapping It Up
Converting MP4 to MP3 doesn’t have to be complicated, but doing it right can save you time, storage space, and frustration down the road. Whether you choose an online converter for occasional use or invest time learning desktop software for regular conversions, the key is finding a method that fits your needs and sticking with it.
The most important thing I’ve learned is that there’s no single “best” way to do this – it depends on what you’re converting, how often you do it, and what quality you need. Start simple with online tools, and only move to more complex solutions if you find yourself needing features they don’t offer.
Remember, at the end of the day, you’re just trying to get audio out of a video file. Don’t overthink it, but don’t settle for poor quality either. With the right approach, you’ll be extracting pristine audio from your video files like a pro in no time.


